Gardening stores do a roaring trade selling potting soil. Some products are excellent, and some less so. The issue is that you don't know what you're getting when you buy it, and potting soil is unregulated.
Many include peat moss, which carries a high environmental cost. Other commercial suppliers use county organic waste and can include herbicides and pesticides and even heavy metals or other contaminants.
In commercial supplies, peat moss is sourced from partially decomposed sphagnum moss in bogs. It takes many centuries for peat moss to accumulate and the wetlands are a very important environment for plants and animals and sequestering CO2.
At Rugged Weeds, we try as much as is possible to use only materials from our property. That way, we know the provenance of the compost. Organic yards are healthier environments for the birds, insects and other wildlife it supports, and also the plants growing in it. The compost from our yard is used in our raised beds for growing food and herbs that we consume, and for growing the plants in our yard. And the compost from our yard provides what we need for our potting soil.
We use potting soil for potting up seedling sprouts, and for cuttings that have outgrown their flats where they started. And potting soil is straightforward to make by hand. Because we go through quite a few buckets of it each season, our method uses some tools you may not have. The process remains similar.
It is possible for potting soil to have a complicated recipe. You may find ingredients in potting soil like biochar, pieces of bark or wood chips, vermiculite, river sand, and perlite.
We use only two - our home made compost, and river sand we buy. It works well. The compost provides the organic matter to feed the plant and retain moisture, and the river sand helps with drainage.
Our compost comprises mostly grass clippings and pine straw that has fallen onto the lawn from the pine trees in and around our garden. It also includes weeds, seasonal material taken from our raised beds, and wood chips we get in bulk from local arborists grinding trees. We use wood chips as mulch on our beds and include some in our compost when we mow. Your source of your organic material for your compost will determine how coarse or fine it is. The texture can impact how your plants will root and how well it will retain water. If you do this year on year, you'll discover what works and what does not in your yard.
Because grass clippings tend to break down unevenly and because of wood bits and pine cone bits, our first step is to sift our mature compost.
I built a sifter from scraps of lumber and an offcut of metal grating from the local metal store. At the bottom, I cut a hole so it's easy to push sifted compost into a bucket below, but it's not necessary. I mount the sifter on top of two folding trestles with the bucket below next to the compost pile. It's easy to set up and take down. The rest of the year, it stands on its end and doesn't take up much space. Some people set up sifting boxes on a potting bench or outdoor table. Make it easy for yourself and you'll do it more often than you think.
Sifting compost also gives you a good sense of how your composting process is working, and what changes to make to improve it. If it's too dry, perhaps watering is needed. If too wet, perhaps tarping is needed during rainy periods. It will also show you if your ratios of green to brown are ideal - green matter providing nitrogenous matter, and brown, carbonaceous. And it'll provide clues about whether you turned it often enough. For grass clippings, which tends to mat down, turning regularly speeds the process and improves your end result.
I use a pitchfork to load up the sifter, and then sift. Fine organic material passes through. What's left on top can be tossed back onto one of the fresh compost piles. When I have a nearly full five-gallon bucket of sifted compost, I pour it into my small electric concrete mixer, add a quarter of a bucket of river sand, and tumble.
Before I went this route, I did it by hand. It works just as well, it's just slower. To half a bucket of compost, add river sand, and mix. You can do so with a small, hand garden spade or trowel. Or you can put on the lid and tumble it.
Once my mix is done in the mixer, I pour it into empty kitty litter buckets for storage. We have cats, so we repurpose. TidyCats kitty litter buckets stack well and come with lids and handles, and repurposing them saves having to buy buckets from the hardware store.
One key difference between home-made potting soil and store-bought is that commercial potting soil is often heated to sterilise it.
A Goldilocks compost pile will get very hot from thermophilic bacteria and high temperature will kill seeds in the pile. But for most gardeners, their compost pile may not be large enough, or won't get hot enough everywhere to kill all the seeds in the pile. So when using your own compost for your potting soil, check your pots at least once a week and do a bit of weeding, as needed. You'll be checking on them anyway to see if they need water, so pulling a weed or two will take only a few moments.
For the sifted compost I use for indoor seed starting, I bake it. I don't want weed residual seeds to compete with what I want to start. For our indoor seed starter material, I include no river sand, and use just sifted compost. To bake it, I use a deep, commercial kitchen stainless steel food pan with a lid. It goes into the oven for 2 hours at 180F, mixing after an hour so the cool center gets warmed, too. That kills any seeds remaining that didn't die during the hot phase of the composting process. Don't raise the oven temp too high and burn the material. All you're wanting to do is kill the seeds that might remain. When it cools down, store it in a sealed container.


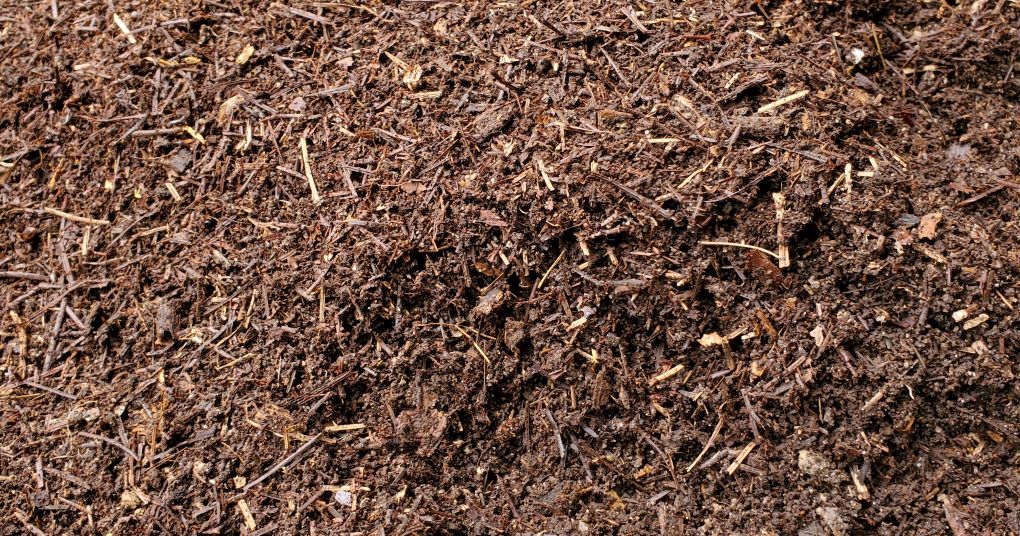
Header image: Sifted compost at Rugged Weeds
Comments are moderated
We encourage comments on articles and genuinely enjoy hearing from our visitors. However, because of spam, please note that all comments are moderated and and will not immediately appear after you click SEND - so it is not a bug in the system that your comment isn't immediately visible.
Only after Rugged Weeds has reviewed a comment will it be published, should we choose to do so. We reserve the right to not publish comments if they may negatively affect other visitors' experience to this site or understanding of the topic at hand. Thank you.
For people commenting on gardening or therapeutic horticulture posts, please consider including your USDA zone or the temperature range into which your garden falls.
Subscribe
Report
My comments